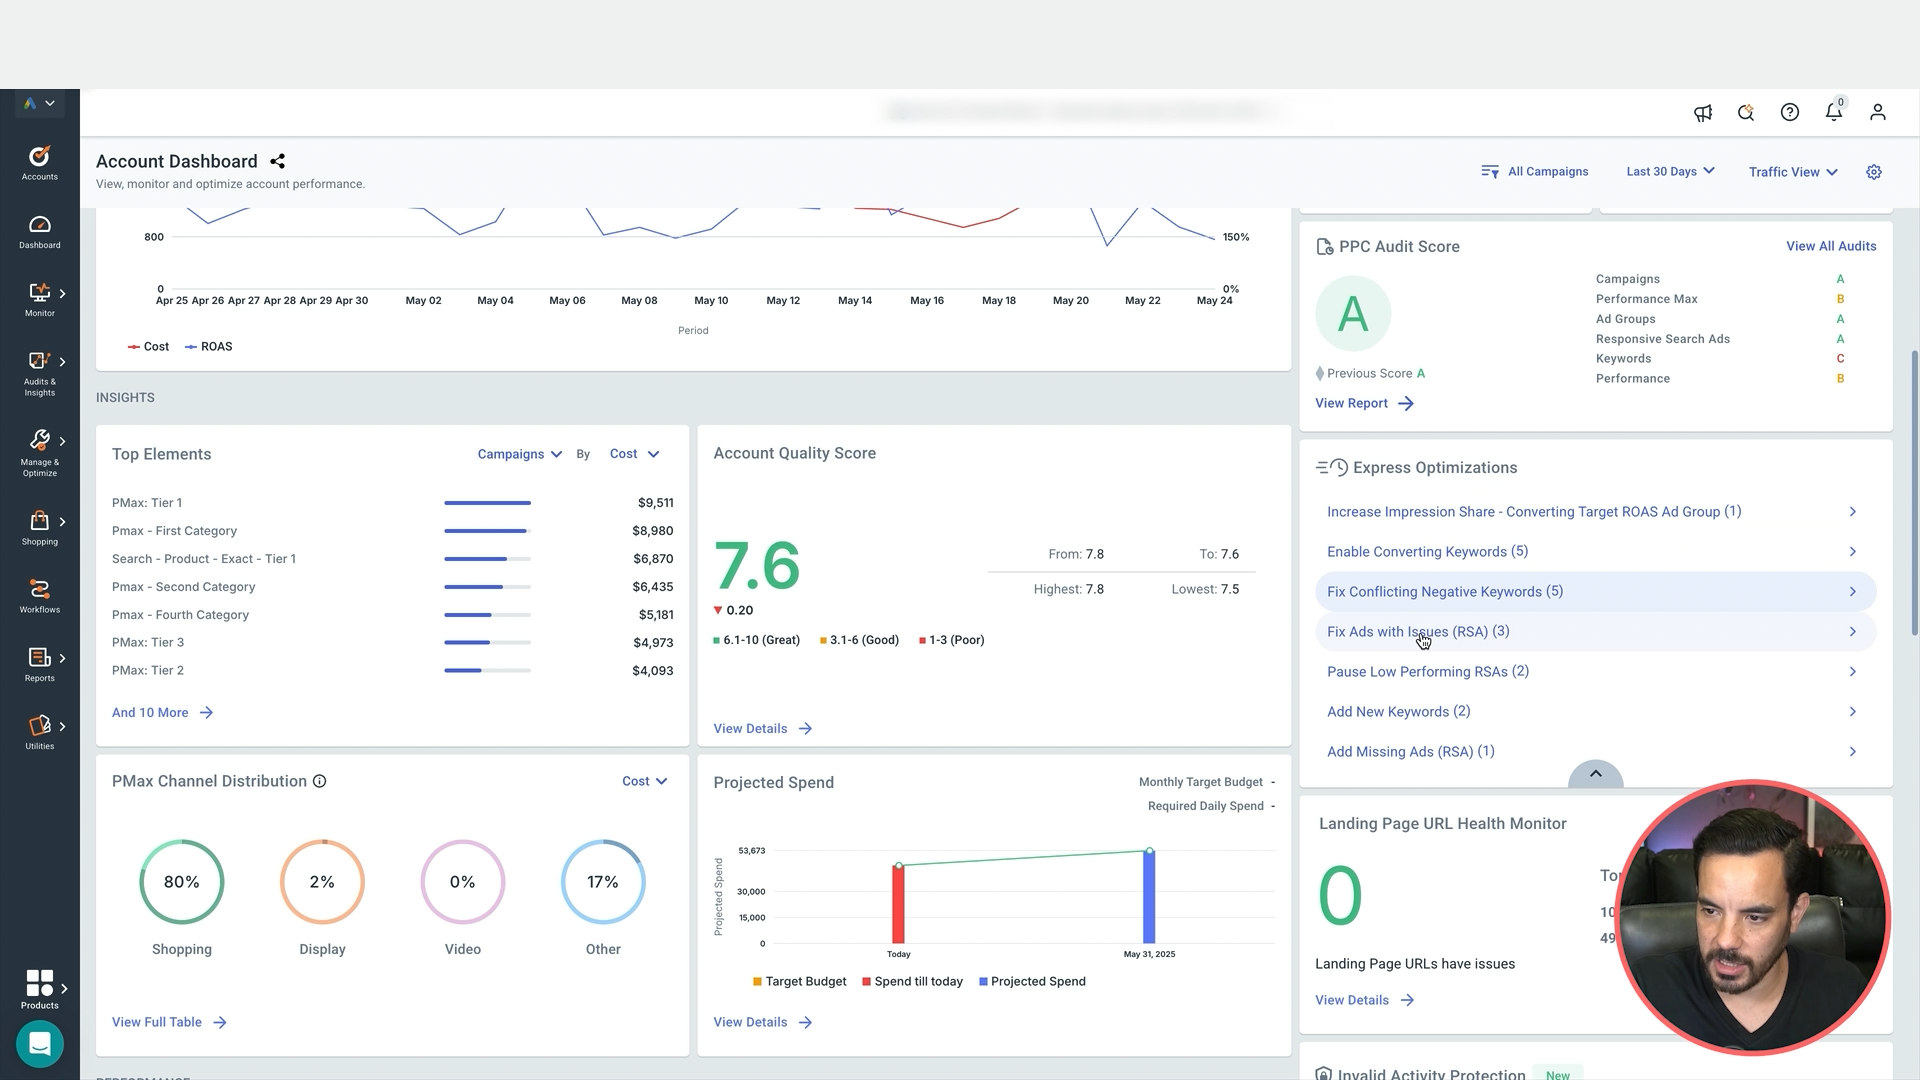
Each week, my team and I sit down to do the same thing in every single Google Ads account we manage.
We run a master-level weekly review using a checklist that I’ve refined over the past decade, managing millions in ad spend and generating over $150M in ecommerce revenue.
This checklist gives us a bird’s-eye view of every account, spots issues and opportunities early, and sets us up to hit the ground running every week.
In this week’s blog post, I’m going to share the exact steps of that checklist with you.
Step 1: Set Up Your Master View Columns
Before diving into stats, you need to set up the right columns inside Google Ads. These are the essentials:
Daily Budget.
Bid Strategy Type.
Target ROAS or Target CPA (depending on goal).
Conversions.
Conversion Rate.
Spend.
Revenue.
ROAS or CPA.
Search Impression Share.
Search Lost IS (Rank).
Search Lost IS (Budget).
These are the only ones we actively monitor in the weekly review. Clicks, CTR, impressions etc. are noise unless there’s a major shift in performance. If ROAS or conversions are healthy, we’re good.
Step 2: Analyse Performance at Multiple Levels
Account and Campaign Level
We always check stats first at account level, then sort campaigns by cost and drill down into the top spenders.
This helps us quickly see if anything big is off. Only if something looks weird do we then zoom in deeper to ad groups, products, keywords etc.
Date Ranges to Review
We never rely on just one time window. Here’s what we always check:
Last 7 Days (for current week performance).
Last 30 Days (for monthly trends).
30-Day Comparison (Vs. Previous Month) (to spot monthly movers).
30-Day Comparison (Year-on-Year) (for seasonality context).
Last 8 Weeks – Segmented Weekly (for short-term trends).
Last 6 Months – Segmented Monthly (for long-term patterns).
If a metric has dropped, we compare it to previous periods and investigate which campaign is causing the change.
Step 3: Google Merchant Center Checks (Ecommerce Only)
If you're running Shopping or Performance Max campaigns, jump into Merchant Center and:
Check for Disapproved Products (high priority).
Check for Limited Products (lower priority but still worth reviewing).
A single disapproved best seller can wreck campaign performance.
Step 4: Performance Max Spend Analysis
We use Mike Rhodes’ script to see how Performance Max is allocating spend across Shopping, Search, Display, and Video.
This lets us:
Spot if too much is going to video or display (low converting).
Check if conversions align with spend by channel.
View weekly changes in spend distribution.
There’s a free version of the script linked here, and a paid version that goes deeper (we use it for client work).
Step 5: Ad Approvals & Optimisation Score
Filter your Ads tab by Policy Approval Status.
Check for Disapproved Ads and fix them.
Then visit the Recommendations tab.
Aim for a 100% optimisation score, but only by either implementing good suggestions or dismissing the bad ones.
Most of Google’s suggestions are rubbish, but review them anyway so nothing useful gets missed.
Step 6: Optional Tools We Use
Optimyzr Alerts
We use Optimyzr to get automated account alerts:
Conflicting negatives.
Paused but high-performing keywords.
Bidding errors or outliers.
Not essential, but useful if you manage multiple accounts at scale.
Step 7: Weekly Task Management
Quick wins? Do them on the spot.
Longer fixes? Add them to your task list and date them.
We do this all in Asana, but use whatever tool works for you.
Prioritise your list before closing out the review. You want to enter the week clear on what needs doing and when.
Bonus: What We Don’t Include Here
You’ll notice I didn’t include ad creative reviews, search term audits, or audience targeting checks. That’s because we run those as separate weekly tasks with their own dedicated time.
Your Copy of the Checklist
Final Thoughts
This weekly review process is your foundation. It’s not where you fix everything, it’s where you see everything. You’ll walk away each week knowing exactly:
What’s working.
What’s not.
What to fix (and when).
You can either:
Use the checklist to get on top of your own account.
Or hit me up if you want us to just take care of it all for you.
Either way, your Google Ads results will be stronger for it.
Conclusion
To sum up, here’s what your weekly Google Ads review should include:
Core performance metrics at account and campaign level.
Multiple date range comparisons (7-day, 30-day, year-on-year, 8-week, 6-month).
Google Merchant Center disapprovals.
Performance Max spend by channel.
Ad approvals and Google’s recommendations.
Optional: alert-based tools like Optimyzr.
A structured task list to manage your actions.
Use this structure and you’ll never be flying blind inside your account.


